Equalizer frequencies are crucial for shaping sound; frequency, measured in Hertz (Hz), defines sonic vibrations per second.
Understanding these ranges allows for precise audio adjustments, compensating for deficiencies in both equipment and listening environments.
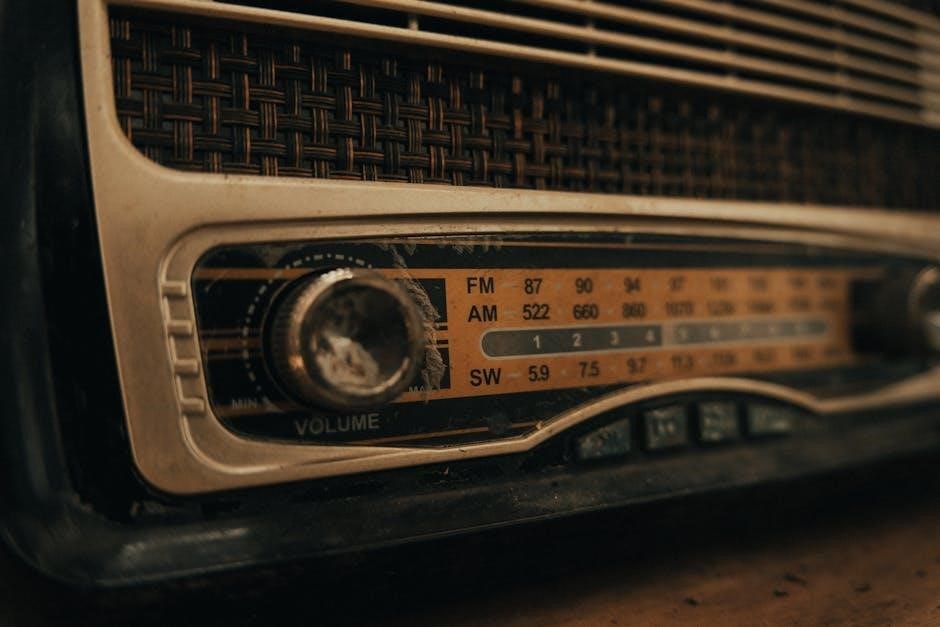
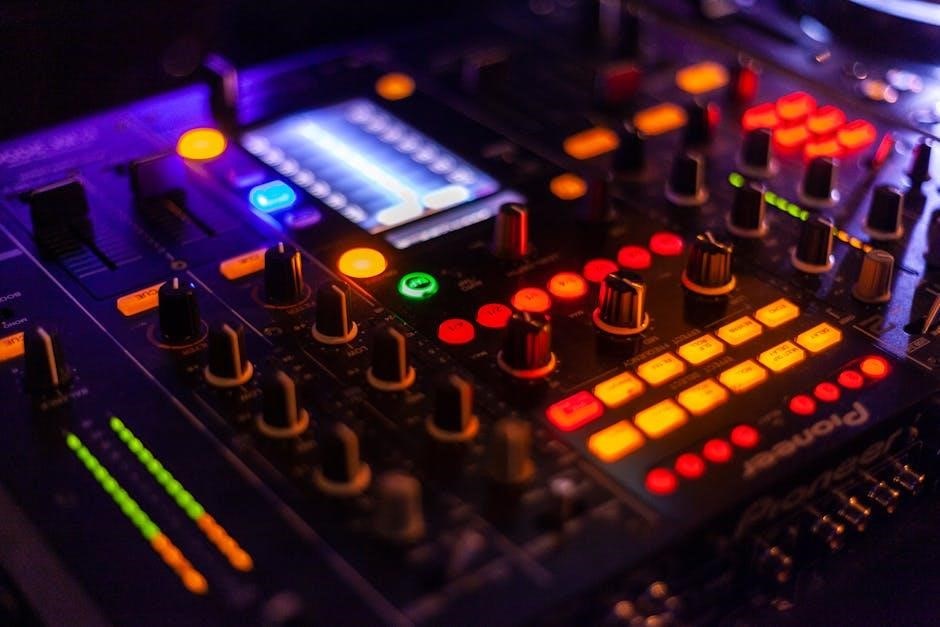
What is an Equalizer?
Equalizers, often called EQs, are electronic devices or software tools designed to adjust the volume levels of specific frequency ranges within an audio signal. Essentially, they act as sophisticated tone controls, offering far greater precision than simple bass and treble adjustments. This manipulation allows for the shaping of a sound’s tonal balance, enhancing clarity, warmth, or any other desired sonic characteristic.
Equalizers achieve this by boosting or cutting the amplitude of particular frequencies. They are indispensable tools in music production, live sound reinforcement, and even personal audio listening, enabling users to correct imperfections, create unique sound signatures, and optimize audio for various playback systems and environments. They compensate for speaker and sound field defects.
Understanding Frequency and Hertz (Hz)
Frequency represents the rate at which sound waves vibrate, measured in Hertz (Hz). One Hertz signifies one cycle of vibration per second. Human hearing typically ranges from 20Hz to 20,000Hz (20kHz), though this range diminishes with age. Lower frequencies correspond to bass sounds – deep, rumbling tones – while higher frequencies represent treble – crisp, bright sounds.
In the context of equalizers, understanding Hz is paramount. Each frequency band on an EQ corresponds to a specific range of Hz. Adjusting these bands alters the intensity of those frequencies, impacting the overall tonal balance. Mastering frequency awareness is key to effective equalization and achieving desired audio results.
The Importance of Equalization
Equalization is vital for refining audio, correcting imbalances, and optimizing sound for specific listening environments or devices. It compensates for deficiencies in speakers, headphones, or recording quality. Without equalization, audio can sound muddy, harsh, or lack clarity.
Effective equalization enhances the listening experience by ensuring a balanced frequency response. It allows for precise control over tonal characteristics, boosting desired frequencies and attenuating unwanted ones. This process is crucial in music production, sound reinforcement, and even everyday listening, ensuring optimal audio fidelity and enjoyment. Properly applied EQ transforms raw audio into polished, professional-sounding results.

Key Frequency Ranges and Their Impact
Audio frequencies impact perception; lower ranges provide bass, midrange defines clarity, and higher frequencies contribute to brightness and detail in sound reproduction.
20Hz ⎼ 60Hz: Sub-Bass Frequencies
Sub-bass frequencies, ranging from 20Hz to 60Hz, represent the very lowest end of the audible spectrum. These frequencies are more felt than heard, providing the foundational rumble in music, movies, and other audio content. They add a sense of power and depth, particularly noticeable in genres like electronic dance music (EDM), hip-hop, and action film soundtracks.
Boosting these frequencies can create a more immersive experience, but excessive emphasis can lead to muddiness and distortion, especially on smaller speakers or headphones lacking sufficient low-frequency response. Careful equalization within this range is crucial; often, a subtle boost or cut is all that’s needed to achieve a balanced sound. Monitoring on quality equipment is essential to accurately assess sub-bass reproduction.
60Hz ⎯ 250Hz: Bass Frequencies
Bass frequencies, spanning 60Hz to 250Hz, provide the rhythmic foundation of most music. This range defines the “punch” and “warmth” of instruments like bass guitars, kick drums, and lower-register instruments. A well-defined bass response is vital for a full and engaging listening experience, contributing significantly to the overall energy of a track.
However, excessive boost in this region can cause a boomy or muddy sound, masking other frequencies. Conversely, insufficient bass can leave music sounding thin and lacking impact. Careful equalization is key to achieving clarity and balance. Identifying and addressing any resonant frequencies within this range can significantly improve the overall sound quality, preventing unwanted vibrations and muddiness.
250Hz ⎼ 500Hz: Lower Midrange Frequencies
The lower midrange, between 250Hz and 500Hz, significantly impacts the perceived clarity and fullness of vocals and many instruments. This range contains fundamental frequencies for guitars, pianos, and the lower harmonics of the human voice. Boosting here can add body and presence, but excessive emphasis can create a boxy or muffled sound, diminishing overall definition.
Careful attention to this area is crucial for achieving a natural and balanced sound. Reducing frequencies in this range can often alleviate muddiness, particularly in dense mixes. Identifying and subtly attenuating any problematic resonances can improve the intelligibility of vocals and the clarity of instruments, resulting in a more polished and professional sound.
500Hz ⎯ 2kHz: Midrange Frequencies
The midrange, spanning 500Hz to 2kHz, is arguably the most critical frequency range for perceived loudness and definition. It contains the fundamental frequencies of most vocals and instruments, heavily influencing how we perceive their character and presence. Boosting in this range can make elements “jump” forward in the mix, enhancing their impact.
However, excessive boosting can lead to a harsh or fatiguing sound. Careful cuts can remove unwanted resonances or muddiness. This range is vital for intelligibility; clarity suffers if it’s poorly managed. Precise adjustments here are key to achieving a balanced and engaging sonic experience, ensuring instruments and vocals cut through the mix effectively.
2kHz ⎯ 4kHz: Upper Midrange Frequencies
The upper midrange, between 2kHz and 4kHz, significantly impacts clarity and articulation. This range contains crucial harmonics that define the “bite” and “edge” of instruments and vocals. Boosting here can enhance presence and make sounds more distinct, but it’s a sensitive area; even small increases can quickly lead to harshness or listener fatigue.
Careful cuts can tame sibilance in vocals or reduce unpleasant resonances in instruments. This frequency band is where the ear is most sensitive, demanding precise control. Mastering this range is essential for achieving a polished and professional sound, ensuring elements are clear without sounding abrasive or fatiguing.
4kHz ⎼ 6kHz: Presence Range
The presence range, spanning 4kHz to 6kHz, is vital for vocal intelligibility and instrument definition. Boosting in this area brings elements forward in the mix, creating a sense of proximity and clarity. It’s where the ear is highly attuned, making subtle adjustments impactful. However, excessive boosting can introduce harshness and a “thin” quality, particularly in vocals.
Strategic cuts can reduce nasal tones or sibilance. This range defines how sounds “cut through” a mix, crucial for lead instruments and vocals. Mastering this band requires a delicate touch, balancing clarity with a natural and pleasing sonic character. Careful attention here ensures elements are prominent without sounding artificial or fatiguing.
6kHz ⎯ 20kHz: Treble Frequencies
The treble frequencies, ranging from 6kHz to 20kHz, govern the airiness, sparkle, and detail in audio. These high frequencies contribute to the perception of spaciousness and realism. Boosting can enhance cymbals, hi-hats, and the upper harmonics of instruments, adding brilliance. However, excessive emphasis can lead to harshness, sibilance, and listener fatigue.
Subtle cuts can tame overly bright recordings or reduce unwanted noise. Human hearing sensitivity decreases at these frequencies with age, so adjustments should be made cautiously. This range is crucial for the overall clarity and definition of a mix, but requires a nuanced approach to avoid unpleasant artifacts and maintain a balanced sound.
Types of Equalizers
Equalizers come in various forms: graphic, offering fixed bands; parametric, providing precise control; and shelving, adjusting frequencies above or below a set point.
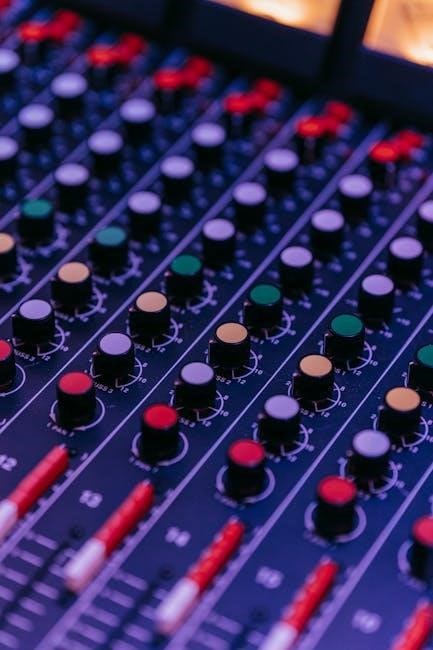
Graphic Equalizers
Graphic equalizers are characterized by their use of multiple fixed-frequency bands, typically represented by sliders on a physical interface or visual controls in software. These bands allow for boosting or cutting specific frequency ranges, offering a relatively straightforward approach to equalization.
Common configurations include 15-band and 31-band graphic equalizers, providing increasing granularity in frequency control. While not as flexible as parametric equalizers, graphic equalizers are valued for their ease of use and visual representation of the frequency spectrum. They are often found in home stereo systems, car audio setups, and some professional audio applications where quick and intuitive adjustments are desired.
The fixed nature of the bands means you cannot adjust the center frequency or bandwidth of each control, limiting precise targeting of specific problem areas. However, they remain a popular choice for broad tonal shaping and general equalization tasks.
Parametric Equalizers
Parametric equalizers offer a significantly higher degree of control compared to graphic equalizers. They allow adjustment of three key parameters for each band: frequency, gain (boost or cut), and bandwidth (Q factor). This flexibility enables precise targeting of specific frequencies and shaping of their surrounding sonic characteristics.
The ability to adjust the center frequency allows users to pinpoint problem areas with accuracy. Gain control determines the amount of boost or cut applied, while the Q factor controls the width of the affected frequency range – a higher Q results in a narrower bandwidth.
Parametric equalizers are favored in professional audio production and live sound reinforcement where detailed and surgical equalization is essential. They are often implemented as plugins within digital audio workstations (DAWs).
Shelving Equalizers
Shelving equalizers are designed to adjust the amplitude of frequencies above or below a specified frequency point. Unlike parametric or graphic equalizers that target specific bands, shelving EQs provide a broader, gentler adjustment to the tonal balance.
There are two primary types: low-shelf and high-shelf. Low-shelf EQs boost or cut frequencies below the set point, affecting the bass and lower midrange. High-shelf EQs affect frequencies above the set point, influencing treble and higher frequencies.
Shelving equalizers are commonly used for broad tonal shaping, such as adding warmth to a mix or taming harshness. They are simpler to operate than parametric EQs and are often found in consumer audio equipment.
Equalizer APO and Windows Systems
Equalizer APO is a powerful, system-wide equalizer for Windows, offering parametric EQ, filtering options, and extensive customization for audio output devices.
Configuring Equalizer APO
Configuring Equalizer APO involves attaching it to your desired output device, such as speakers or headphones, typically identified as “Speakers ⎼ VIA HD Audio.” Initial setup requires downloading and installing the software, followed by selecting the appropriate audio device within the configuration panel.
Users can then begin crafting equalization profiles using various filter types – high-pass, low-pass, and notch filters – to sculpt the sound. The software supports parametric equalization, allowing precise control over frequency bands. Furthermore, it boasts impressive capabilities, potentially exceeding 8000 graphic EQ bands for granular adjustments. Remember to test configurations thoroughly to avoid unwanted audio artifacts or distortions, ensuring a balanced and pleasing listening experience.
Using Presets and Customization
Equalizer APO offers both pre-made presets and extensive customization options. While downloadable presets exist, many users find them lacking and prefer tweaking settings to their personal preferences. Exploring user-created presets can provide a starting point for experimentation, but tailoring them is often necessary.
Customization involves adjusting individual frequency bands, utilizing parametric EQ controls for precise shaping. Consider starting with subtle adjustments and A/B testing to evaluate the impact on sound quality. Remember that optimal settings depend heavily on the audio source, headphones/speakers used, and individual hearing characteristics. Don’t hesitate to save custom profiles for different scenarios.

Specific Equalizer Techniques
Equalization employs filters like high-pass, low-pass, and notch filters. These techniques selectively attenuate or remove specific frequency ranges for refined audio control.
High-Pass Filters
High-pass filters, often called low-cut filters, attenuate frequencies below a specified cutoff point, allowing higher frequencies to pass through unaffected. This is incredibly useful for cleaning up audio by removing unwanted low-frequency rumble, such as from air conditioning, traffic, or microphone handling noise.
They are essential for tightening mixes, preventing muddiness, and improving clarity. Applying a high-pass filter to instruments that don’t require substantial low-end – like vocals or guitars – frees up headroom in the mix for elements that benefit from those frequencies, like the bass and kick drum. Careful selection of the cutoff frequency is key; too high, and you risk thinning out the sound, too low, and the unwanted noise remains.
Low-Pass Filters
Low-pass filters operate conversely to high-pass filters, attenuating frequencies above a specified cutoff point, allowing lower frequencies to pass through. These are valuable for taming harshness, reducing sibilance in vocals, or creating a warmer, more subdued tone. They’re also crucial for simulating distance – reducing high frequencies can make a sound appear further away.
In mixing, low-pass filters can effectively carve out space for other instruments, preventing frequency masking. For example, applying a low-pass filter to a bright synth pad can allow a vocal to sit more prominently in the mix. As with high-pass filters, careful adjustment of the cutoff frequency is vital to avoid overly dulling the sound or removing essential harmonic content.
Notch Filters (Band-Reject)
Notch filters, also known as band-reject filters, are surgical tools in equalization, precisely attenuating a narrow band of frequencies. Unlike broad cuts, they target specific problematic resonances or frequencies causing unwanted coloration. They’re incredibly useful for removing hums, buzzes, or ringing frequencies often found in recordings or instruments.
Identifying the offending frequency is key; sweeping a narrow notch filter across the spectrum until the unwanted sound diminishes is a common technique; However, overuse can lead to a sterile or unnatural sound, so subtlety is crucial. Notch filters excel at addressing specific issues without drastically altering the overall tonal balance, offering a refined approach to problem-solving.
Equalization for Different Audio Sources
Equalization varies greatly depending on the source—headphones, speakers, or music production—requiring tailored adjustments for optimal clarity and a balanced sonic experience.
Equalization for Headphones (SHP9500 Example)
SHP9500 headphones, known for their open-back design, often benefit from equalization to address certain frequency response characteristics. Many users report a slight dip in the lower midrange, impacting the fullness of vocals and instruments. A gentle boost in the 250Hz ⎯ 500Hz range can often remedy this, adding warmth and presence.
Furthermore, some find the treble slightly recessed; a subtle lift between 6kHz and 8kHz can enhance clarity and detail without introducing harshness. However, caution is advised, as excessive treble boost can lead to fatigue. Experimentation with Equalizer APO and user-shared presets is encouraged to find the ideal settings for individual preferences and hearing profiles. Remember, subtle adjustments are key to achieving a natural and balanced sound.
Equalization for Speakers
Speaker equalization differs significantly from headphone adjustments due to room acoustics. Reflections, resonances, and the speaker’s placement heavily influence the perceived sound. A common starting point is to use a room correction tool or manually apply cuts to address peaks caused by room modes – often in the bass region (below 250Hz).
Identifying and reducing these peaks creates a cleaner, more accurate low-end response. Conversely, dips can be gently boosted, but avoid excessive amplification, which can strain the speakers. High-frequency adjustments may be needed to compensate for speaker roll-off or room absorption. Careful listening and measurement tools are vital for optimal speaker equalization.
Equalization for Music Production
Equalization in music production is a creative and corrective process. It’s used to sculpt individual tracks, ensuring they fit cohesively within a mix. Subtractive EQ – cutting unwanted frequencies – is often preferred over boosting, preventing muddiness and harshness. Identify and remove resonant frequencies or conflicting elements between instruments.
Use EQ to create space for each instrument in the frequency spectrum. For example, carving out some low-midrange from a guitar track can allow the bass to breathe. Mastering equalization focuses on broad tonal shaping, enhancing the overall clarity and impact of the final mix. Precise adjustments are key for a polished sound.
Advanced Equalization Concepts
Continuous Time Linear Equalizer (CTLE), Decision Feedback Equalizer (DFE), and Feed Forward Equalizer (FFE) are complex techniques used for signal processing and data transmission.
Continuous Time Linear Equalizer (CTLE)
Continuous Time Linear Equalizers (CTLEs) represent a foundational approach to equalization, particularly within high-speed serial communication systems. Unlike their digital counterparts, CTLEs operate on analog signals, offering advantages in latency and power consumption. They function by boosting higher frequencies that have been attenuated during transmission through channels like cables or printed circuit boards;
The core principle involves a carefully designed filter network that provides gain proportional to frequency. This compensation aims to counteract the frequency-dependent losses inherent in the transmission medium. CTLEs are often employed as the first stage in a receiver chain, preceding analog-to-digital conversion. Their effectiveness relies on accurate channel modeling and precise component selection to achieve optimal performance and signal integrity.
Decision Feedback Equalizer (DFE)
Decision Feedback Equalizers (DFEs) represent a sophisticated equalization technique, commonly utilized in high-speed data communication systems. Unlike CTLEs, DFEs leverage previously detected symbols to mitigate intersymbol interference (ISI). This interference occurs when signal pulses overlap, distorting the received data. The DFE operates by subtracting a reconstructed interference signal from the received signal, effectively canceling out the distortion.
DFEs consist of two primary components: a feedforward filter and a feedback filter. The feedforward filter shapes the received signal, while the feedback filter utilizes past decisions to estimate and subtract the ISI. This feedback mechanism enhances performance, particularly in channels with significant distortion. However, error propagation can be a concern, as incorrect decisions can lead to further errors.
Feed Forward Equalizer (FFE)

Feed Forward Equalizers (FFEs) are employed to combat intersymbol interference (ISI) in communication systems by proactively shaping the incoming signal. Unlike DFEs, FFEs operate solely on the present and future input signals, without relying on past decisions. This makes them less susceptible to error propagation, a potential drawback of DFEs.
The FFE utilizes a tapped-delay-line structure, applying weights to different time-delayed versions of the input signal. These weights are carefully designed to pre-distort the signal, effectively canceling out the distortion caused by the channel. While FFEs offer robustness against error propagation, they can be more sensitive to noise and require accurate channel estimation for optimal performance. They are often used in conjunction with DFEs for enhanced equalization.